How to select and setup the bridge tournament you want to play on the tablet?
First you need to select the tournament you want to play – on the Bridge+More tablet.
Go to the main menu on the the Bridge+More Tablet – See the illustration of the app’s main menu at the right.
You can notice below the buttons the text in red – showing that not tournament have been selelected (see at the last picture how the selected tournament is shown)
Select “Tournament table” on the tablet apps main menu
(this assumes you already have created a tournament)


Select tournament:
First select tournament
(Notice this needs to be done on each tablet to be used in a specific tournament)
Click on the top menu (just below ”Select Tournament”) by clicking at the small grey triangle – if the tournament shown is not the wanted one
- Tournaments are sorted after time – latest created shown first (top of the list)
- You can only select tournaments for the club or clubs you have the rights to handle (administrator rights) and for those clubs where the tablets are registered. The club structure should be seen as a hierarchy and tablet can can only be related to one (but the tablets can be moved to another club easily – just ask us).
If you cant see the tournament click the “Refresh” button in the upper right corner
Select tournament- Step 1:
Select the wanted tournament – you can see the word “Selected” are shown next to the name
Notice – it can be necessary to move a finger up or downwards to see more than the latest created tournaments – as illustrated on the first screen
Please notice if you have several sessions you will have to select session number as well
Select Table – Step 2:
Now you need to select the table for the dealer / tablet – as illustrated you need to link (select) the tablet to a table number.
Select the number on the list and press “Link selected table to this tablet” and you can see the table is linked (as shown for table 1)
Notice:
- The first table shown on the list is the first available
- You can not override an already selected table – then you have to “Unlink” first – see below
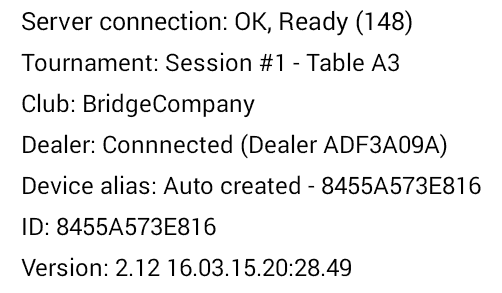
- You can see when you have accepted the selection – see below – the table details below the “Accept”button and also on the main menu which table you have linked as shown below (second line – Session 1 – table A3 ( “A” because it is a 2 section tournament – A first section, B second section, etc.). If more than one session the session number will be shown – if one session “Session #1” is shown.

Accept the selected tournament – step 3:
Accept the the selected tournament and table – click the “Click here to accept selected tournament and selected table”
Notice the linked tournament and table are shown below this button is linked correctly – see the red square added to the screen at right
Now you are ready to start playing – pres “Play”:
Press “Play” on the main menu
The game process and handling is described here


